How to Install Herringbone SPC Flooring: A Comprehensive Guide to Laying Herringbone SPC Vinyl Plank Flooring
What is SPC Flooring?
SPC flooring, short for Stone Plastic Composite flooring, represents a cutting-edge evolution in modern flooring solutions. At its core, SPC flooring meaning revolves around a robust composition that blends natural limestone powder with polyvinyl chloride and stabilizers, creating a rigid core that’s exceptionally stable and resilient. This SPC rigid core flooring stands out from traditional options by offering superior dimensional stability, meaning it resists expansion or contraction due to temperature fluctuations, making it ideal for diverse climates.
Unlike standard vinyl, SPC vinyl flooring incorporates this stone-based core, enhancing its durability against impacts, scratches, and heavy foot traffic. For instance, in high-traffic areas like kitchens or commercial spaces, SPC vinyl plank flooring provides a waterproof barrier that prevents moisture damage, a common issue with wood or laminate. Its click-lock system simplifies assembly, reducing the need for adhesives and allowing for floating installations over various subfloors.
One of the key advantages is its eco-friendly profile; many SPC products, including those from reputable manufacturers like Woocan Company, use recyclable materials and emit low volatile organic compounds (VOCs), promoting healthier indoor air quality. Visually, SPC flooring mimics natural wood or stone with high-definition printing, available in myriad textures and colors, all while being budget-friendly and low-maintenance. This makes it a top choice for homeowners seeking luxury aesthetics without the high upkeep of real hardwood.
Why Choose Herringbone Pattern for Your SPC Vinyl Plank Flooring
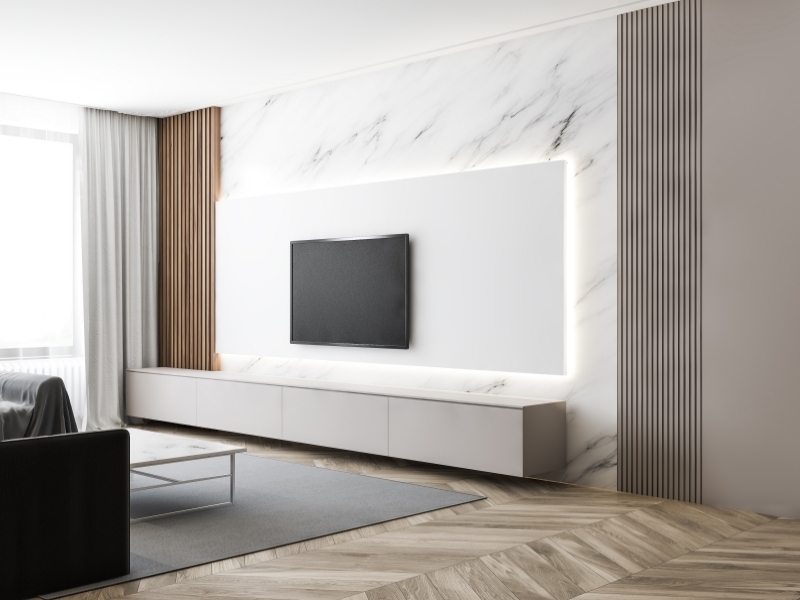
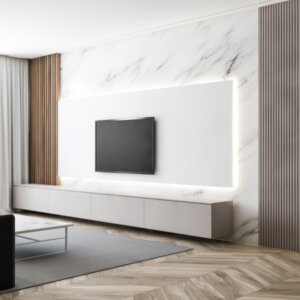
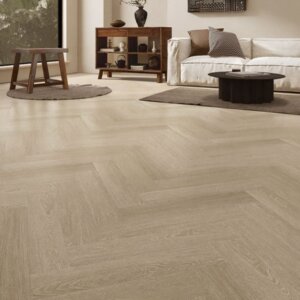
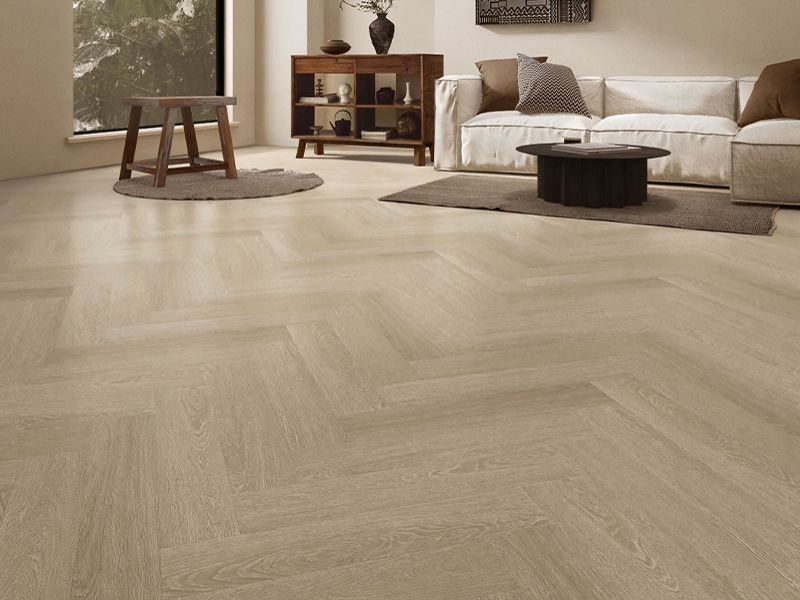
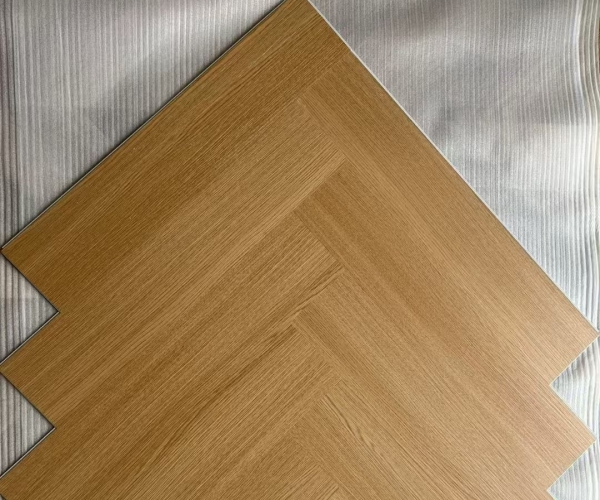
Opting for a herringbone pattern in your SPC vinyl plank flooring elevates any space with a timeless, sophisticated charm reminiscent of classic European designs. This zigzag arrangement, where planks meet at 90-degree angles, creates a dynamic visual flow that draws the eye and adds depth to rooms, making small areas appear larger and more inviting.
Practically, herringbone enhances the inherent strengths of SPC flooring. The interlocking pattern distributes weight evenly, boosting the floor’s stability and longevity. In moisture-prone environments, the tight seams of herringbone SPC rigid core flooring minimize water infiltration, complementing its waterproof nature. Additionally, this layout conceals minor subfloor imperfections better than straight planks, offering forgiveness during installation.
From a design perspective, herringbone pairs beautifully with modern, rustic, or minimalist interiors, allowing customization through plank sizes and finishes. For buyers, it’s a value-add: herringbone installations can increase property appeal, potentially raising resale value by emphasizing premium craftsmanship without exorbitant costs.
| Benefit Category | Herringbone Pattern Advantages | Standard Plank Layout Comparison |
|---|---|---|
| Visual Impact | Creates dynamic movement and elegance | Straightforward, linear appearance |
| Stability | Even weight distribution reduces wear | Potential for uneven settling |
| Space Perception | Expands visual room size | Maintains neutral proportions |
| Installation Forgiveness | Hides subfloor flaws effectively | More visible imperfections |
| Customization | Versatile with colors and sizes | Limited pattern variations |
This table illustrates why herringbone stands out, blending form and function seamlessly.
Materials and Tools Needed for Herringbone Floor Installation: Essential Checklist for Fitting Herringbone Floor
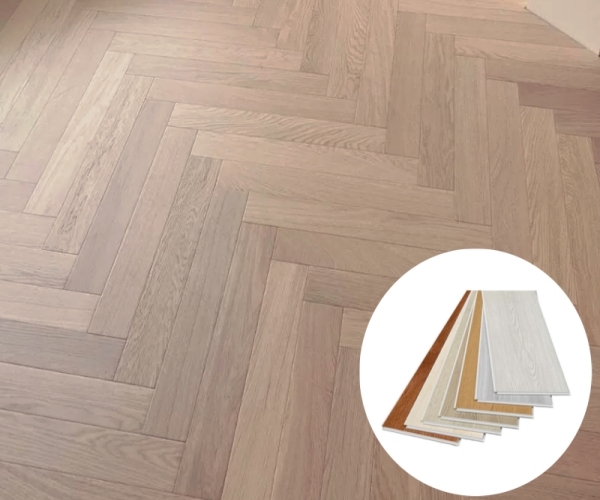
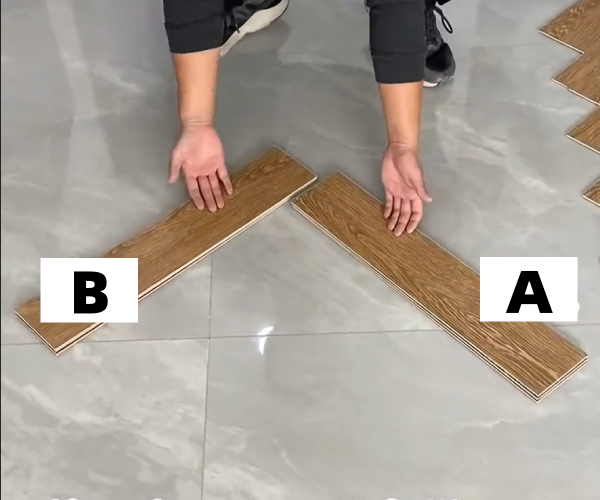
Before diving into herringbone floor installation, gathering the right materials ensures a smooth process. Core materials include SPC vinyl plank flooring specifically designed for herringbone, often labeled as left (A) and right (B) planks to form the V-shaped pattern. You’ll also need underlayment for cushioning and soundproofing, plus expansion spacers to maintain gaps around walls.
Tools are equally vital: a rubber mallet for tapping planks into place without damage, a pull bar for tight fits near walls, a utility knife or jigsaw for precise cuts, measuring tape, chalk line for marking guidelines, and safety gear like knee pads and gloves. Don’t forget a level to check flatness and a vacuum for cleanup.
For optimal results, select high-quality SPC flooring with a wear layer of at least 0.3mm for residential use. This checklist not only streamlines fitting herringbone floor but also prevents costly pauses mid-project.
Preparing Your Subfloor: Crucial Steps Before You Start Herringbone Flooring with SPC Flooring
Preparation is the foundation of successful herringbone SPC flooring installation. Begin by assessing the subfloor: it must be clean, dry, level, and structurally sound. Remove old flooring, debris, or adhesives, and repair any cracks or uneven spots with self-leveling compound.
Test for moisture, especially on concrete subfloors, using a hygrometer—levels should be below 85% relative humidity. Install a vapor barrier if needed to protect the SPC rigid core flooring from rising dampness. Acclimate the planks in the room for 48-72 hours at 65-75°F to prevent post-installation warping.
Finally, plan the layout: measure the room, find the center, and snap chalk lines at 45 degrees to guide the herringbone pattern. This meticulous prep minimizes issues when you start herringbone flooring.
Step-by-Step Guide
Mastering how to lay herringbone floor begins with organization.
Step 1: Dry-lay a few rows along your chalk lines to visualize and adjust for symmetry.
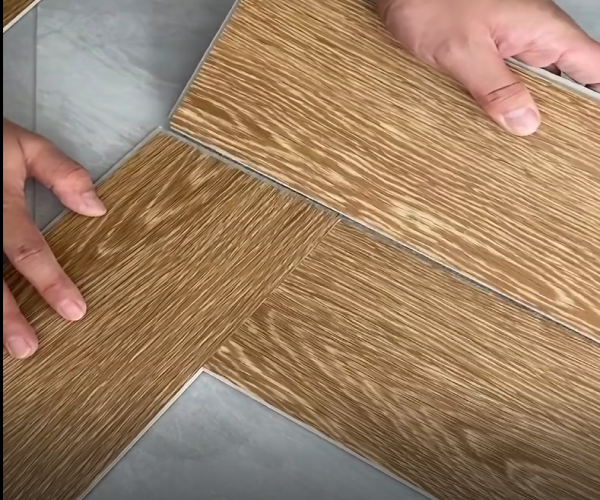
Step 2: Start at the center with an A plank, groove facing out, then attach a B plank at a 90-degree angle to form the first V.
Step 3: Continue alternating A and B planks, inserting each at a slight angle and tapping with a mallet to lock the click system. Check alignment every few rows using a straightedge.
Step 4: For edges, measure and cut planks with a jigsaw, maintaining a 1/4-inch expansion gap.
Step 5: Work in sections, filling one side before the other to maintain balance.
Step 6: Install transitions at doorways and remove spacers after 24 hours.
This method ensures a secure, professional how to install a herringbone floor.
How to Start Herringbone Flooring: Aligning the Initial Rows for Perfect Herringbone Floor Installation
The key to flawless herringbone floor installation lies in the starting point. Locate the room’s centerline and intersect it with a perpendicular line to create a 45-degree guide. Place your first A plank along this angle, ensuring it’s square.
Attach the initial B plank to form the apex, then build outward. Use masking tape to hold early pieces if needed. This precise start prevents cascading errors, guaranteeing a balanced pattern throughout.
Overcoming Challenges: Common Mistakes in Install Herringbone Flooring and Solutions for SPC Vinyl Flooring
Common pitfalls in install herringbone flooring include misalignment from rushed starts or ignoring subfloor levels, leading to gaps. Solution: Double-check measurements and use laser levels.
Another issue is plank damage from excessive force; opt for a soft mallet. For uneven cuts, practice on scraps. With SPC vinyl flooring’s forgiveness, these fixes keep the project on track.
SPC Flooring Price Breakdown
SPC flooring price typically ranges from $2-5 per square foot, influenced by thickness, wear layer, and brand. Herringbone adds 10-20% to labor costs due to complexity, totaling $4-8 installed. Bulk purchases reduce expenses, making it accessible for DIYers.
| Cost Factor | Average Range ($/sq ft) | Impact on Herringbone Projects |
|---|---|---|
| Material | 2-4 | Higher for patterned planks |
| Underlayment | 0.5-1 | Essential for sound control |
| Tools/Supplies | 0.2-0.5 | One-time investment |
| Professional Labor | 1.5-3 | Increases with pattern intricacy |
| Total Installed | 4-8 | Value-driven for durability |
This breakdown highlights affordability.
Post-Installation Maintenance: Keeping Your Herringbone SPC Flooring Looking New
Sweep daily and mop weekly with pH-neutral cleaners. Avoid harsh chemicals to preserve the SPC vinyl plank flooring’s finish. Use felt pads under furniture to prevent scratches.
Professional Tips for Flawless Results: Enhancing Durability and Style in SPC Flooring Installations
Incorporate acoustic underlay for noise reduction. Seal edges in wet areas. Mix planks from multiple boxes for natural variation.
FAQ: Top 5 Questions on How to Lay Herringbone, SPC Flooring Meaning, and More
- What is SPC flooring meaning? It’s a stone-plastic composite for rigid, waterproof floors.
- How to lay herringbone floor without gaps? Use precise angles and check alignment frequently.
- Can I install herringbone flooring over carpet? No, remove for a stable base.
- What’s the SPC flooring price for herringbone? Around $3-6/sq ft including materials.
- How to start herringbone flooring in odd-shaped rooms? Adjust centerlines to focal points.